Blackout vs. room-darkening vs. light-filtering
Roller shade fabrics are grouped by how much light they let through. Knowing the difference stops you paying for blackout where you don’t need it — or settling for room-darkening where you do.
| Fabric | Light through the fabric | Night privacy | Best for |
|---|---|---|---|
| Sheer / screen | Most — keeps the view | Limited at night | Living rooms, glare control, keeping the view |
| Light-filtering | Soft, diffused light | Good | Kitchens, living and dining spaces |
| Room-darkening | Very little | Full | Bedrooms where some light is fine, offices |
| Blackout | Virtually none | Full | Bedrooms, nurseries, shift workers, media rooms |
Blackout fabrics are typically coated or multi-layered so no light passes through the material. Many have a neutral, light-coloured back that faces the street — handy in condos and townhomes that ask for a uniform look from outside.
Where light really gets in
Once the fabric is blackout, the remaining light comes from one of three places:
- The sides. A roller shade needs clearance to roll up and down without rubbing the frame, so there’s always a small gap at each edge. On an inside-mount shade, that’s a sliver of light running the full height of the window.
- The top. Light can spill over the roll of fabric, especially on shades without a cover.
- The bottom. If the bottom bar doesn’t sit tightly on the sill, a line of light shows underneath.
In a living room, those slivers don’t matter. In a bedroom facing an early sunrise or a streetlight, they can be the difference between sleeping in and waking at 5:30 a.m.
Inside mount vs. outside mount
Mounting is the single biggest factor in how dark a blackout shade can make a room.
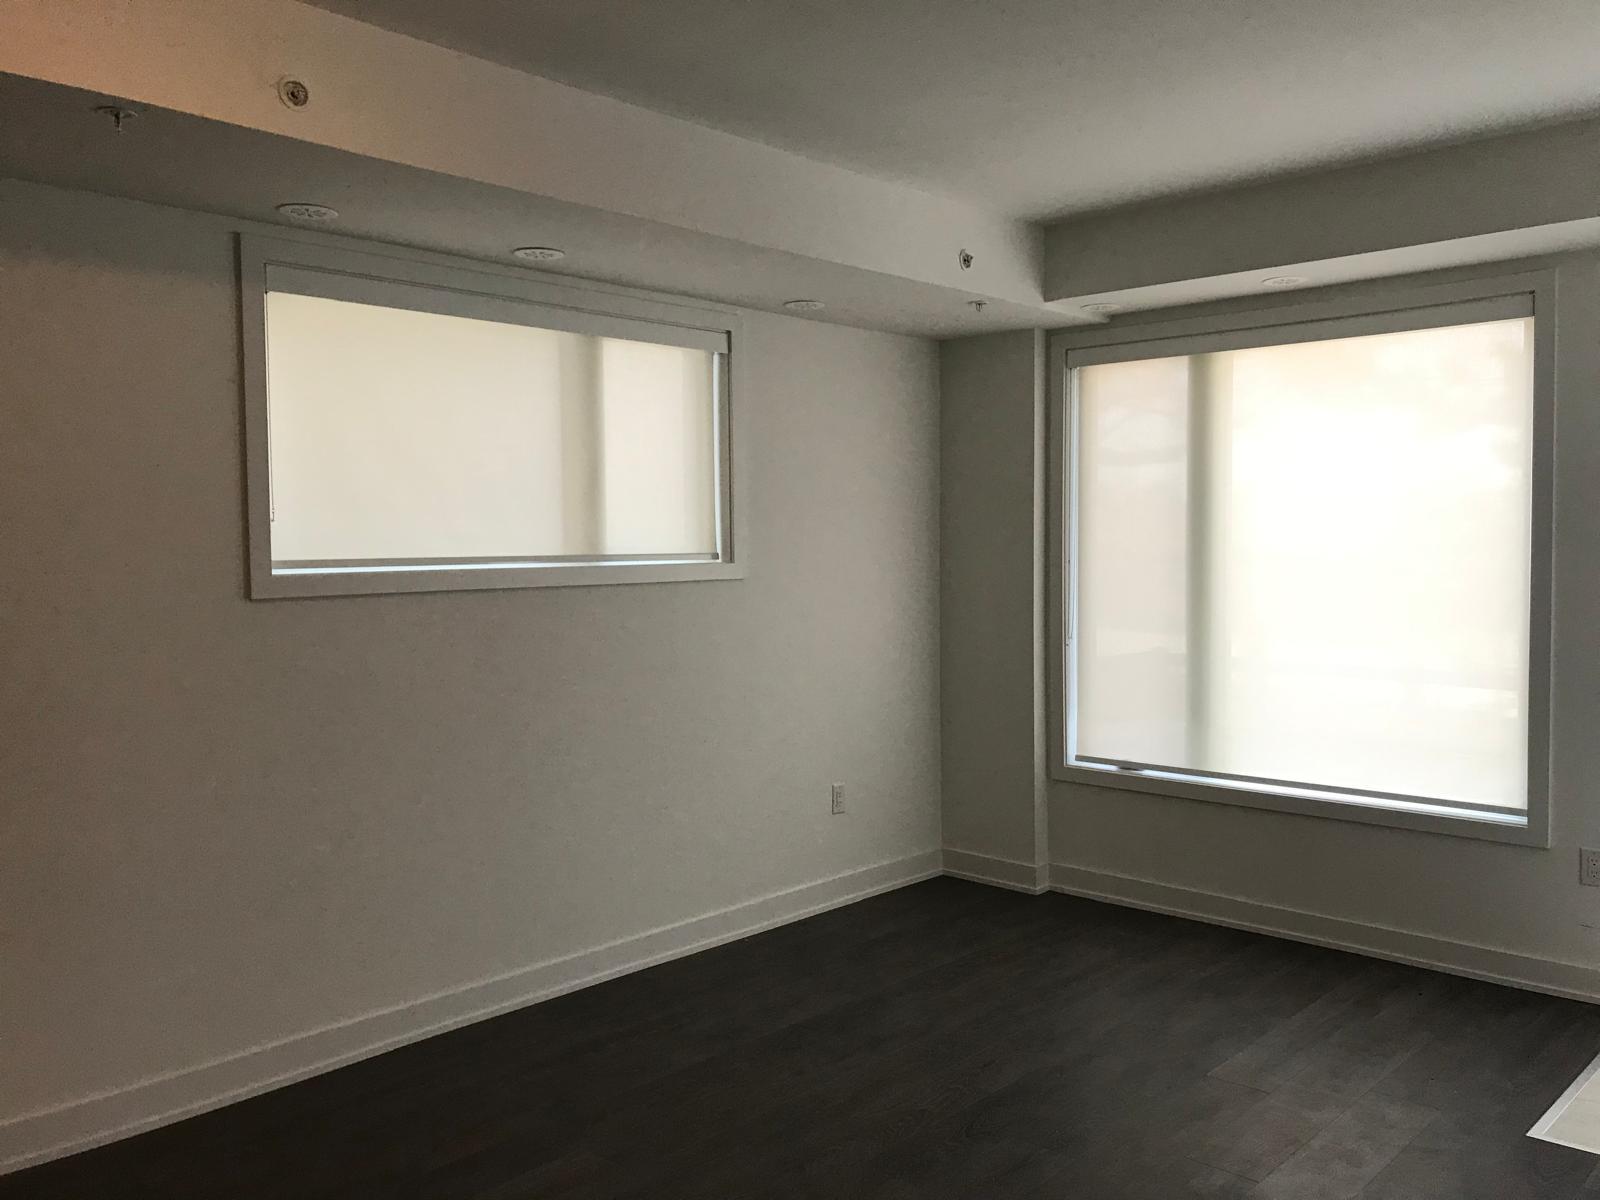
Inside mount
The shade sits inside the window recess for a clean, built-in look that shows off your trim. It’s the most popular choice for its looks — but because the shade must fit inside the opening with clearance, the side gaps are unavoidable. Inside mount works best for room-darkening needs, or for blackout when combined with side channels.
Outside mount
The shade is mounted on the wall or trim above the window and made wider than the opening, so the fabric overlaps the frame on each side — typically by a couple of inches or more. That overlap blocks most of the light that would otherwise leak around the edges, and mounting a little above the frame helps at the top too. For the darkest bedroom without extra hardware, outside mount is the better choice.
Add-ons that get you to near-total darkness
- Side channels. Slim tracks fitted to each side of the window that the fabric edges run inside, closing the side gaps on an inside-mount shade.
- Cassette or valance. A cover over the roller at the top hides the hardware and stops light spilling over the roll.
- A well-fitted bottom bar. A bottom bar that sits flat on the sill closes the gap underneath.
- Regular or reverse roll. Whether the fabric rolls off the back or the front of the tube changes how close it sits to the glass — your installer will pick the option that clears handles and cranks while keeping gaps to a minimum.
Not every window needs every add-on. They’re most worthwhile in nurseries, for shift workers and in rooms facing streetlights or the morning sun.
The right blackout set-up for each room
How dark a room needs to be — and how much hardware is worth adding — depends on who sleeps or watches there:
- Nurseries. Babies nap in daylight, so this is where near-total darkness pays off most. Choose blackout fabric with an outside mount or side channels, add a cassette at the top, and go cordless or motorized for safety.
- Shift workers and day sleepers. Daytime sleep is the toughest test of any shade. Combine blackout fabric, side channels and a cassette, and consider a second shade on any glass door in the room.
- Media rooms. The aim is to stop glare on the screen rather than to sleep. Blackout or room-darkening fabric usually does it, and a darker fabric colour on the room side reflects less light back toward the screen.
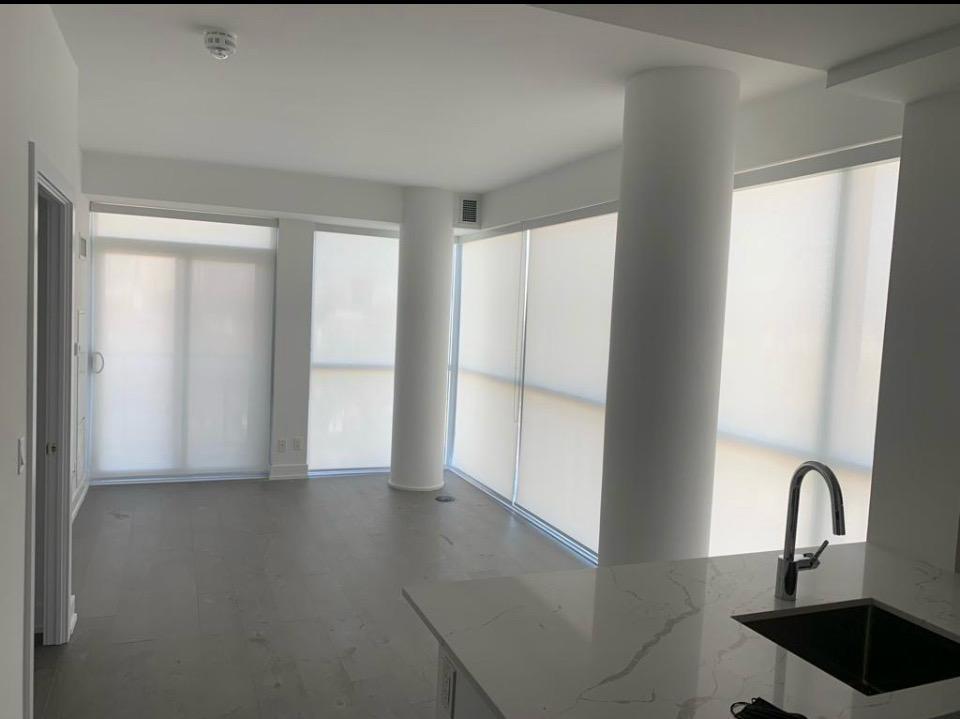
- Condo bedrooms with floor-to-ceiling glass. Wide spans are often split into several shades, so the small gaps between neighbouring shades matter as much as the edges. Careful layout keeps them to a minimum, and motorization makes large, heavy shades easy to run.
- Guest rooms. Room-darkening fabric is often enough, and it keeps the room bright and welcoming when the shade is up.
Measuring for blackout shades
For an early quote, approximate measurements are all you need — the width and height of each window, and whether you’d like an inside or outside mount. For an inside mount, measure the width of the recess at the top, middle and bottom and note the narrowest; measure the height on the left, centre and right. For an outside mount, measure the area you want to cover, including the overlap.
We then take precise measurements at the final on-site visit before your shades are made, so the sizing — and the gaps — are exactly right. See how we work.
Pairing blackout shades with other products
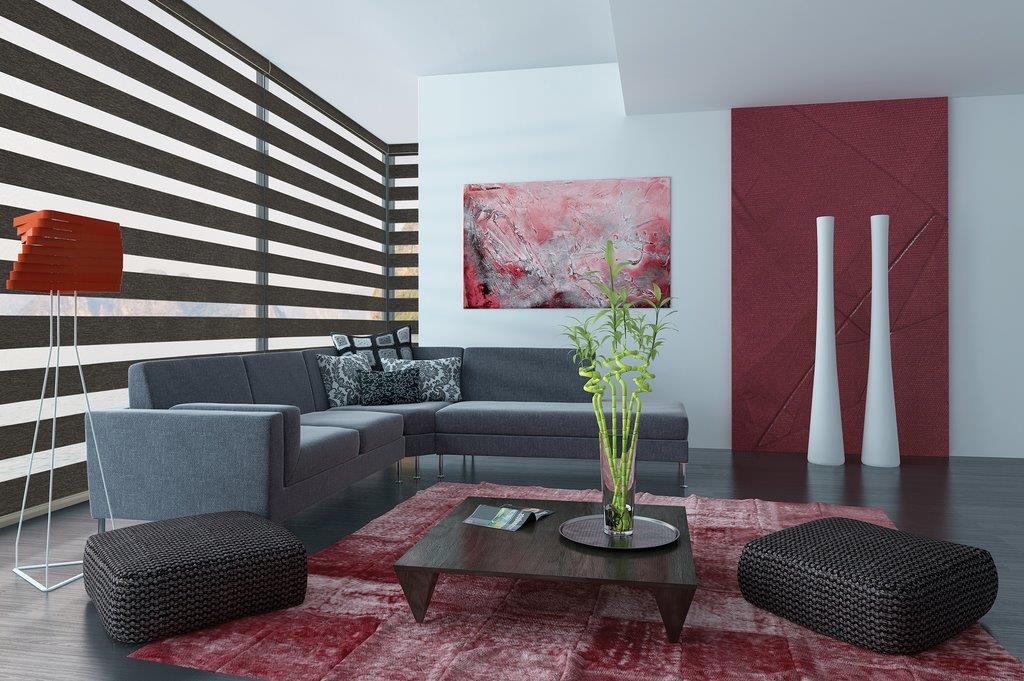
Blackout roller shades deal with darkness; they don’t keep the view. If you want a bright, filtered view in the day and darkness at night, consider zebra blinds in living spaces and blackout roller shades in bedrooms — our zebra blinds vs. roller shades guide compares them in detail. If summer heat is the problem rather than light, solar control film on the glass tackles heat and UV while the shade handles darkness.
Safety in kids’ rooms and nurseries
Window covering cords are a known strangulation hazard for young children. Canada’s Corded Window Coverings Regulations, in force since May 1, 2021, strictly limit accessible cords on window coverings sold in Canada. Cordless and motorized roller shades remove the issue entirely, which is why they’re the safest choice for nurseries and children’s bedrooms.